WordPress 3.0 came with custom menu functionality, and let you build your own navigation menus for your theme. This will help to save substantial amount of your time, as you won’t be required to build a WordPress drop down menu from scratch.
Your WordPress theme with custom menus makers it easy for you to create drag and drop menus.
This post will take you through the steps involved in creating a custom drop down menu in WordPress.
Step 1: Build a Menu in WordPress

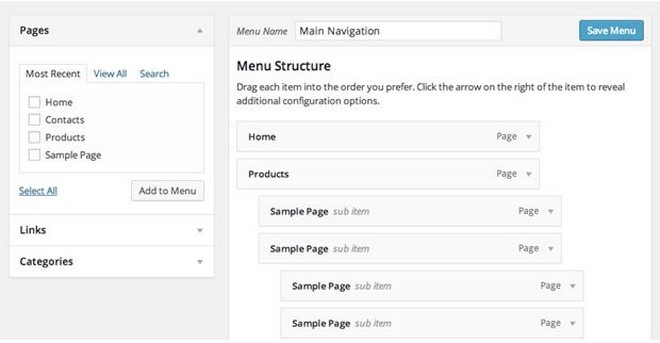
WordPress boasts a simple and easy-to-use interface for creating a drop down menu. So, in order to create a menu you will have to navigate to Appearance > Menus in your dashboard. Next, to build a new menu click on the “Create a new menu link”, assign a name to the menu and then hit the “Save Menu” button.
Step 2: Embed Custom Walker Class to theme’s functions.php

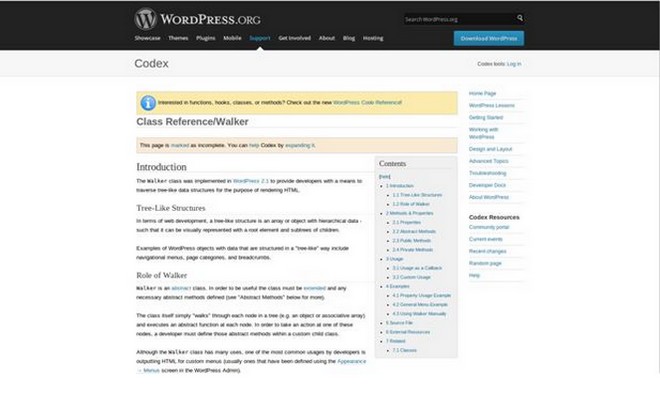
In order to make your menu more compatible to the WP powered site, add the custom WordPress Walker Class to the functions.php file. The functions.php file is inside your theme folder. If the file doesn’t exist, create one and then place the following code in it.
class CSS_Menu_Maker_Walker extends Walker {
var $db_fields = array( 'parent' => 'menu_item_parent', 'id' => 'db_id' );
function start_lvl( &$output, $depth = 0, $args = array() ) {
$indent = str_repeat("\t", $depth);
$output .= "\n$indent<ul>\n";
}
function end_lvl( &$output, $depth = 0, $args = array() ) {
$indent = str_repeat("\t", $depth);
$output .= "$indent</ul>\n";
}
function start_el( &$output, $item, $depth = 0, $args = array(), $id = 0 ) {
global $wp_query;
$indent = ( $depth ) ? str_repeat( "\t", $depth ) : '';
$class_names = $value = '';
$classes = empty( $item->classes ) ? array() : (array) $item->classes;
/* Add active class */
 if(in_array('current-menu-item', $classes)) {
 $classes[] = 'active';
 unset($classes['current-menu-item']);
 }
/* Check for children */

$children = get_posts(array('post_type' => 'nav_menu_item', 'nopaging' => true, 'numberposts' => 3, 'meta_key' => '_menu_item_parent', 'meta_value' => $item->ID));
if (!empty($children)) {
 $classes[] = 'has-sub';
}
$class_names = join( ' ', apply_filters( 'nav_menu_css_class', array_filter( $classes ), $item, $args ) );
$class_names = $class_names ? ' class="' . esc_attr( $class_names ) . '"' : '';
$id = apply_filters( 'nav_menu_item_id', 'menu-item-'. $item->ID, $item, $args );
$id = $id ? ' id="' . esc_attr( $id ) . '"' : '';
$output .= $indent . '<li' . $id . $value . $class_names .'>';
$attributes  = ! empty( $item->attr_title ) ? ' title="'  . esc_attr( $item->attr_title ) .'"' : '';
$attributes .= ! empty( $item->target )     ? ' target="' . esc_attr( $item->target     ) .'"' : '';
 $attributes .= ! empty( $item->xfn )        ? ' rel="'    . esc_attr( $item->xfn        ) .'"' : '';
 $attributes .= ! empty( $item->url )        ? ' href="'   . esc_attr( $item->url        ) .'"' : '';
$item_output = $args->before;
$item_output .= '<a'. $attributes .'><span>';
$item_output .= $args->link_before . apply_filters( 'the_title', $item->title, $item->ID ) . $args->link_after;
 $item_output .= '</span></a>';
$item_output .= $args->after;
 $output .= apply_filters( 'walker_nav_menu_start_el', $item_output, $item, $depth, $args );
}
function end_el( &$output, $item, $depth = 0, $args = array() ) {
$output .= "</li>\n";
 }}
Step 3: Print the New Created Menu
Once you’ve created the menu and have positioned the custom Walker function in the right place, next you’ll have to print the menu in your template files. For this purpose, you will need to use wp_nav_menu() function. Write a PHP code as shown below to call the wp_nav_menu() function and pass on the parameters of the menu to that function. The parameters include menu name, ID of your stylesheet (container_id) and the walker parameter that tells the wp_nav_menu() function to utilize the Custom Walker Class to print the menu.
<?php
wp_nav_menu(array(
'menu' => 'Main Nav',
'container_id' => 'cssmenu',
'walker' => new CSS_Menu_Maker_Walker()
));
?>
Just add the above code snippet in the PHP file where you want to print the menu. For example, let’s take the default WordPress Twenty Fourteen theme and place the above code in the theme header.php file.
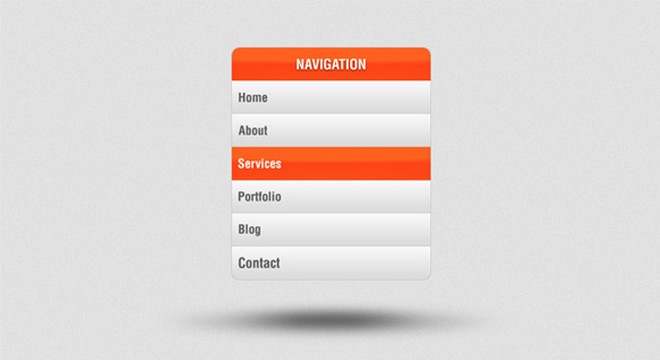
Once, you’ve completed all the above steps correctly, you will be able to view an unorganized HTML list added into your theme. Certainly you would like to add some style to it or otherwise the design will look bland and uninteresting to your users. For this, you will have to add CSS to style the menus.
Step 4: Check that everything works
Well, if you have successfully added the Custom Walker class and displayed the custom menu you’ve created, you’ll be able to see your newly built WordPress drop down menu theme applied to your WordPress menu. If the class hasn’t been added, probably you might face some issues.
- Check out if your CSS style sheet is linked up correctly or not. In addition, view the page source to ensure that the style sheet with your menu CSS is being included in the <head> section of your template.
- It is very important that your images are linked properly in the CSS.
Conclusion
Hopefully this post will help you better understand how to build custom drop down menu for your WordPress site.

