Have you ever wanted to install WordPress locally on your computer? But found it too difficult and complicated! Here’s a neat solution!
Let me put this way. Check out this tutorial and you’ll learn how to install WordPress locally under 10 minutes using the excellent tool DesktopServer.
A test environment is a must for a WordPress developer, designer, or website owner if you want to test themes, plugins, codes, or write tutorials like this one!
DesktopServer is a single integrated tool from ServerPress that is available in both a free and a premium version. In today’s article, I give the free version a test run, and it’s perfectly adequate for my purposes.
You can create three virtual host servers while in the paid version there are unlimited site creations. You can compare features between versions in the comparison matrix. But three virtual websites work perfectly. If you need more, then you can consider purchase the premium version.
DesktopServer allows you to quickly create local development sites. You don’t not need to be connected to the internet to be able to work on your projects. Within minutes, you can fire up your first virtual server to try out new WordPress themes, test plugins, or take WordPress Multisite or BuddyPress for a spin.
DesktopServer is available for: Macintosh OS X 10.6.X-10.10 and Windows XP/Vista/7/8.1
Features included the DesktopServer Limited version is as follows:
- Apache Server
- MySQL Server
- phpMyAdmin
- PHP 5.4
- Xdebug
- Cross-platform (Macintosh & Windows)
- Includes WordPress
- Supports Domain Name Mapping
- Virtual Hosts Automated Creation
- WordPress Automated Installation
- Copying of WordPress Websites
DesktopServer is one of the easiest way to create a local installation of WordPress (an exception is Instant WordPress) if you compare other similar installation methods such as.
- WAMP – WampServer is a Windows web development environment.
- MAMP – Stands for Macintosh, Apache, MySQL, and PHP.
- XAMPP – Is a cross-platform, Apache, MySQL, PHP and Perl.
Within a few minutes, you can log into your newly created WordPress installation.
Alrighty then. Let’s get started.
How to install and setup DesktopServer
Start by downloading the installation file from the DesktopServer download section. I am using Windows 7, so in my case it will be the Windows XP / Vista / 7 / 8.1 version. Extract the zip file and run the Install DSL v365.exe or the equivalent file for Mac.
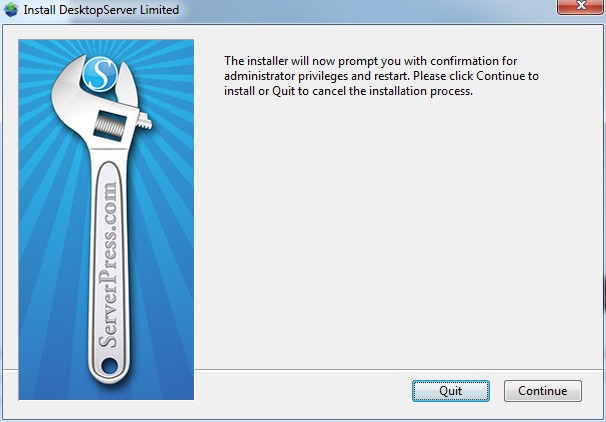
Click Continue

Click Accept
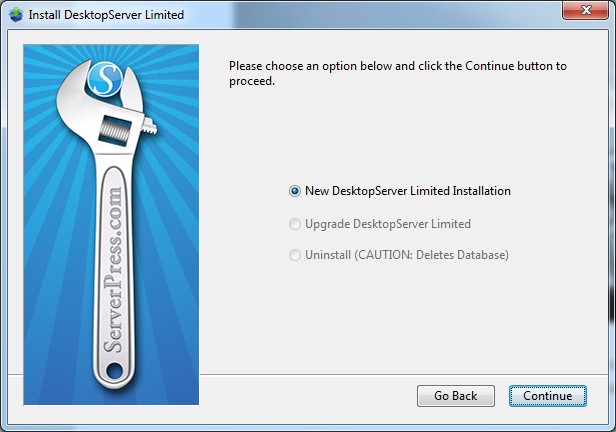
Click Continue

Part one done: Click OK and go to the path you see in the image and start DesktopServer.exe.
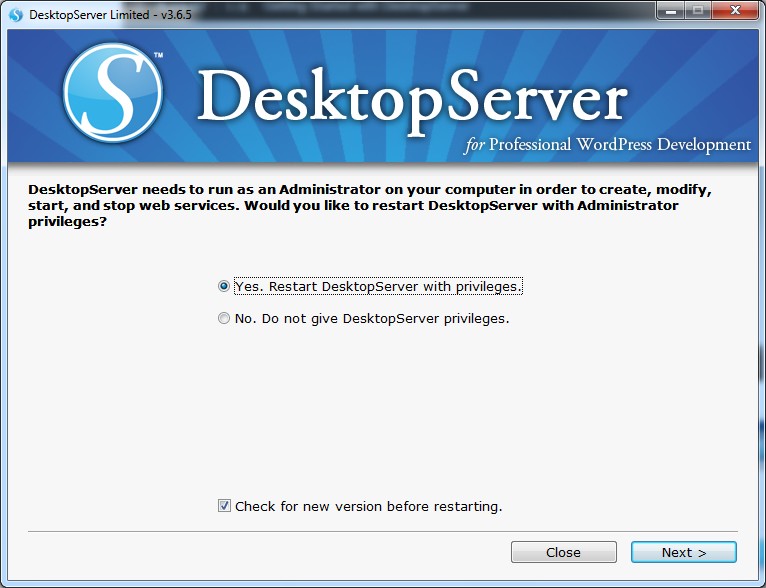
Part Two: DesktopServer wants to start as an administrator. This is needed to create your ‘virtual servers’ so that your browser can find the non-existent .dev (dot D-E-V) domain for development. When you point to a .dev domain, you are working on your local box. Click Next.
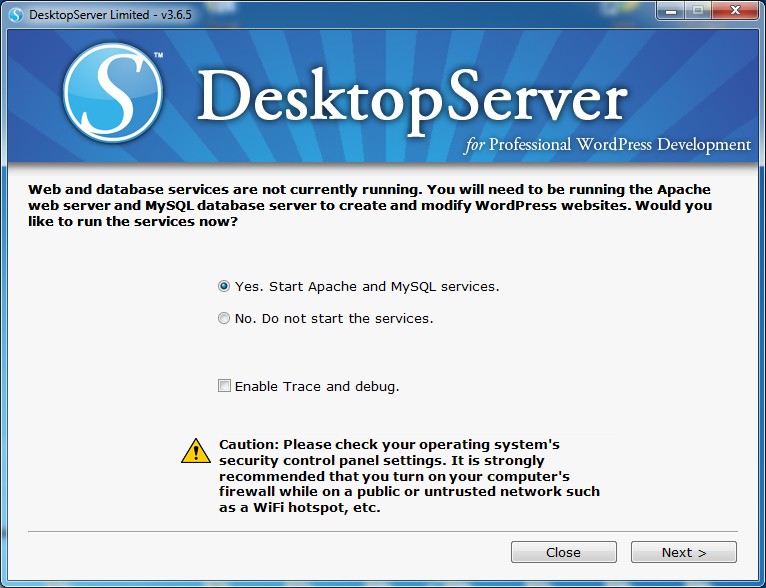
The caution arrow is to remind you that running a server may expose your computer to other users. This usually isn’t an issue for users at work or home as they are more likely to be behind a router’s firewall. Click Next.
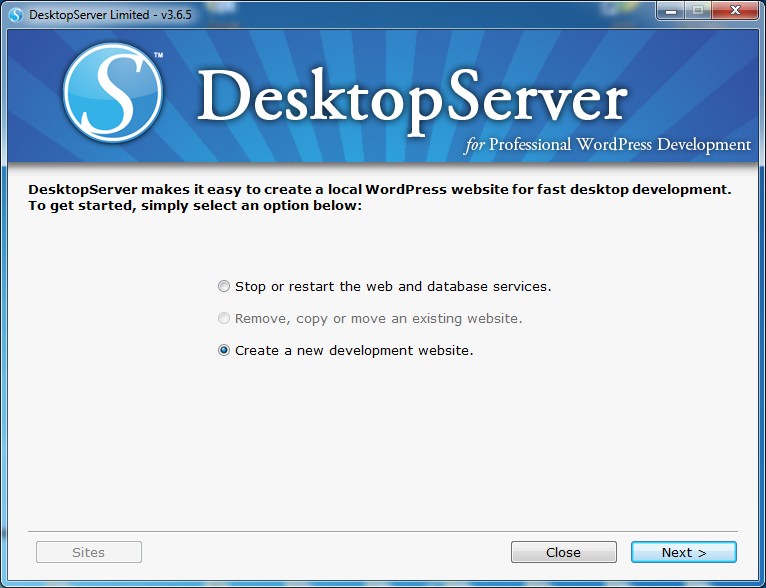
Create your first WordPress website. Just click ‘next’ to accept the default answer, which is to create a new development website. Click Next.
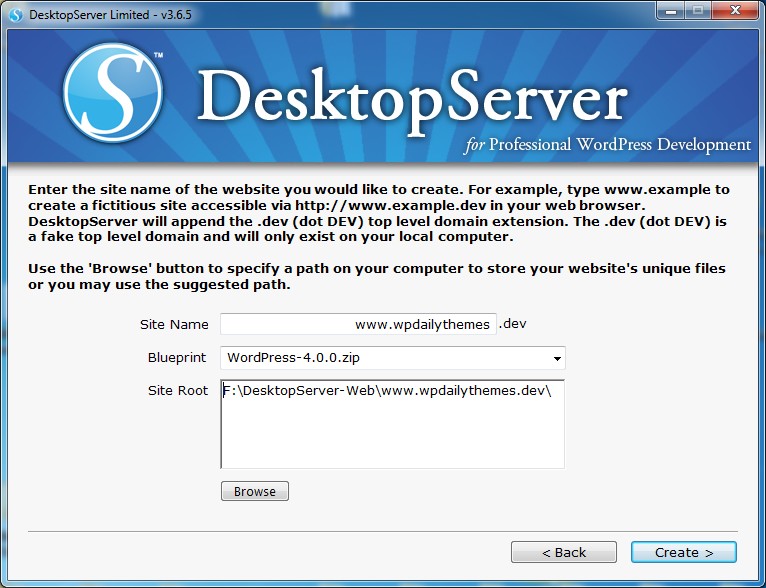
Pick a domain name you would like to use. In my case, I name my website WP Daily Themes Dev. DesktopServer will automatically append the .dev to your selected domain name. By default, this will also be the name of the folder that houses all your WordPress files. You can specify a different name and location if you want. Click Create.
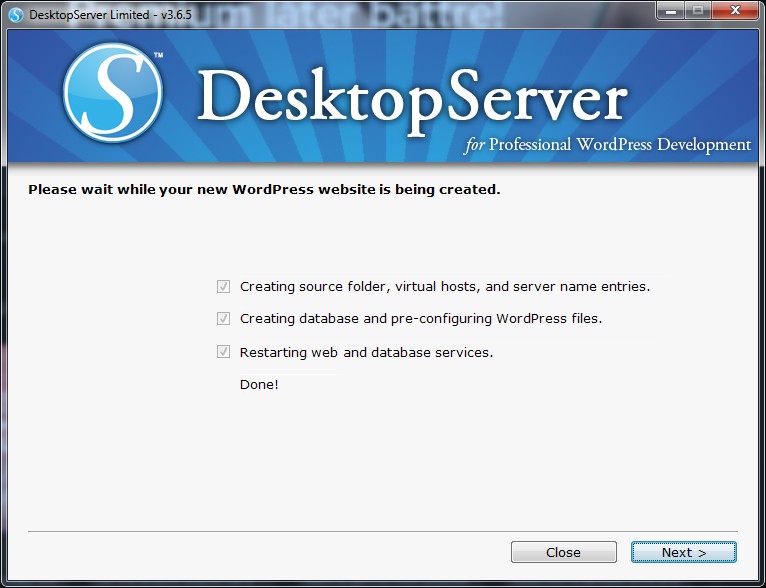
DesktopServer will now copy all the WordPress files, create a database, configure WordPress to talk to the database, and make the fictitious hostname entries so you can access the website by the friendly URL name. Click Next.

DesktopServer have created your web server and website. You’ll be presented with the URL of your website, and you can visit it for the first time by clicking the hyperlink or ‘next’. Click Next.
Part Three:
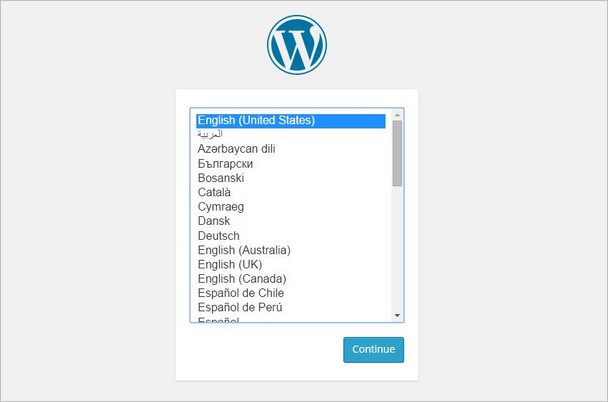
Select your language. Click Continue.
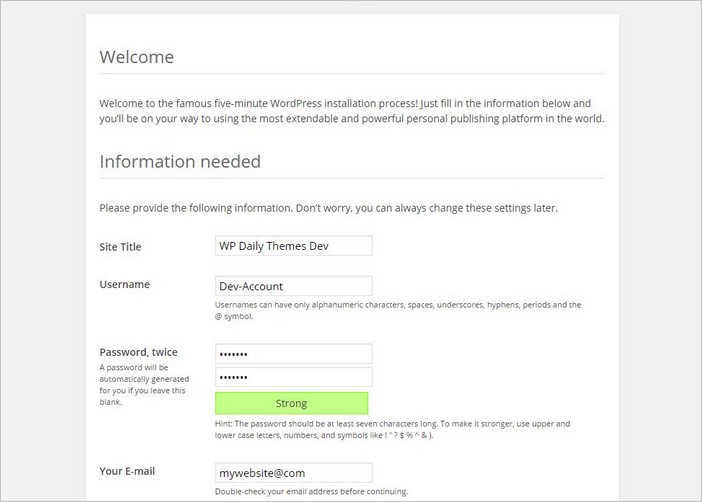
Time to configure WordPress. Add you credentials for your admin username and password. Enter the information (remember it!) and click ‘Install WordPress’ to finalize your site.
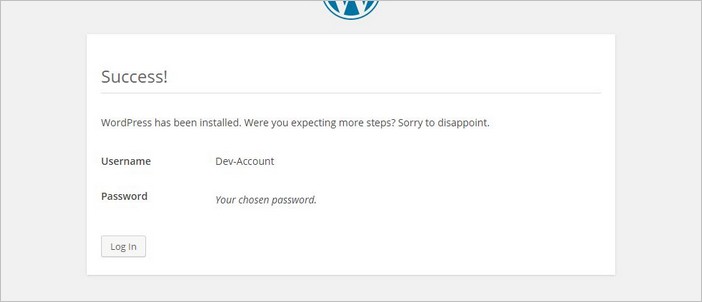
Success

Login to you DesktopServer WordPress website.
DesktopServer ready to run
Your test environment is now ready. Once logged in WordPress the admin area and dashboard looks exactly the same as an ordinary WP installation. Are you familiar with the appearance, well then it´s time for the fun part. With your new test environment, you can develop or test everything in WordPress. Themes, plugins, codes, CSS or whatever you want to do.
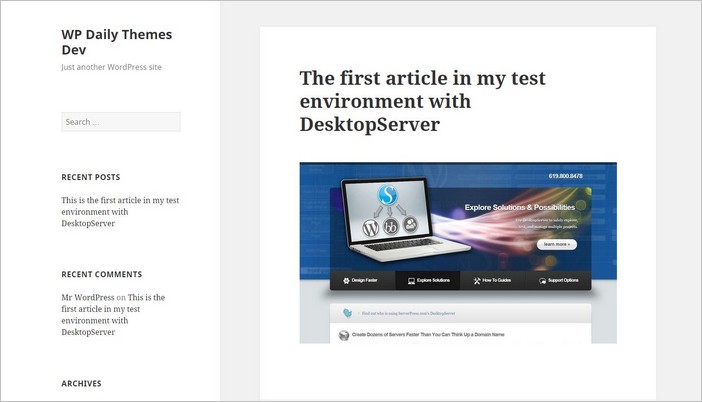
This is how my first article with DesktopServer turned out.
For more help and documentation read:
- Getting Started with DesktopServer
- How To Tutorials
- Documentation
- Frequently Asked Questions
For more information check out the instructional video below.
Wrapping up
The DesktopServer tool from ServerPress is a great and useful tool to set up a test environment locally on your computer for WordPress. It is very easy to setup and configure. Within a few minutes, you have your new development server up and running. You need absolutely no prior knowledge to install or use the DesktopServer.
Personally I think this is one of the best options to install WordPress locally on your computer.
STATUS: OUTDATED OR NO LONGER AVAILABLE!


Peter,
Thanks so much for the write-up! As you are probably aware, we’re proud of DesktopServer and love hearing about how it helps to streamline the workflow of designers and developers.
Let me know if you have any questions – would be happy to help in any way we can!
Best of luck!
-marc