

Steps to run a successful WordPress website are simple. Create interesting content, publish the content at the right time and share it with as much audience as possible. The last step is of foremost importance. It includes sharing the content on various social media platforms such as Facebook, Twitter, LinkedIn etc. Most people tend to manually go to each social network and post a link to the new content each time. What if we automate this last step of posting to social media? Imagine the amount of time that would be saved if the content gets automatically shared across social media platforms automatically as soon as you post any new content on your website. That is what exactly we are going to do in this tutorial.
There are numerous ways to do it. Obviously there are a lot of plugins available to do it. But we are going to learn one of the simplest way to do it without using any plugin. For this we are going to use the service IFTTT which stands for “If This Than That”. IFTTT is a web-based service which lets you connect different apps by creating simple conditional statements. It works on the terminology of having a trigger and an action. Whenever a trigger is triggered, the action is taken by IFTTT automatically. For example, user might want to get email alert whenever someone posts a tweet with a specific hashtag.
Now let’s go on to the step by step process to firstly create a IFTTT account and then create a recipe to post to social media platform (Facebook for this tutorial) whenever we add a new post on our blog.
Note: IFTTT supports all blogs hosted on wordpress.com and self hosted WordPress (version 3.x and above) blogs.
Step 1: Go to https://ifttt.com
Step 2: Click on “Sign Up” button to create a new account.
Step 3: Enter your email address and set a password for your IFTTT account. Finally click on “Create Account”.

On successful creation of the account, IFTTT will walk you through quick tutorial.
Step 4: After completing the tutorial, click on the “My Recipes” button in the header bar.

Step 5: Now click on the blue colored button “Create a Recipe”.

Step 6: Click on “this” keyword in blue color.

Step 7: Now you need to select the triggering channel. You’ll see a list of different channels from which you can choose. In the search bar, type “WordPress” as shown below and from the results click on WordPress icon.

Step 8: You’ll be navigated the below screen. Now click on blue colored “connect” button to start connecting IFTTT to your WordPress website

Step 9: Now you’ll see a pop up asking for details to connect to your WordPress website. Enter the blog URL to which you need to connect IFTTT. In the username and password enter your WordPress Username and password. After entering these details, click on connect button at the bottom.

Step 10: Once you are done with above steps you’ll be navigated to below screen. Click on blue colored “Continue to the next step” button.

Step 11: In this step, we need to choose a trigger. IFTTT currently supports two triggers for WordPress websites i.e.
- Any New Post : For any new post on your website, trigger will get triggered
- New Post with Tag or Category: New posts of a specific tag/category will only act as a trigger.
You can choose any of them based on your use case. For now, we’ll choose “Any new post” as the trigger.

Step 12: In this step, IFTTT just confirms the trigger. So simply click on the blue colored “Create Trigger” button.

Step 13: You’ll be navigated to a screen as below which shows that trigger has been set to your WordPress website with the action of “Any new post on your blog”. Now click on “that” text in blue color.

Step 14: In this step, we are going to choose the action channel. You’ll see a huge list of action channels you can choose from. Actions on all these action channels can be taken whenever a new post has been added on your website including Facebook, twitter, Instagram. For now, we are going to choose Facebook. So just search for Facebook and click on its icon in the results.

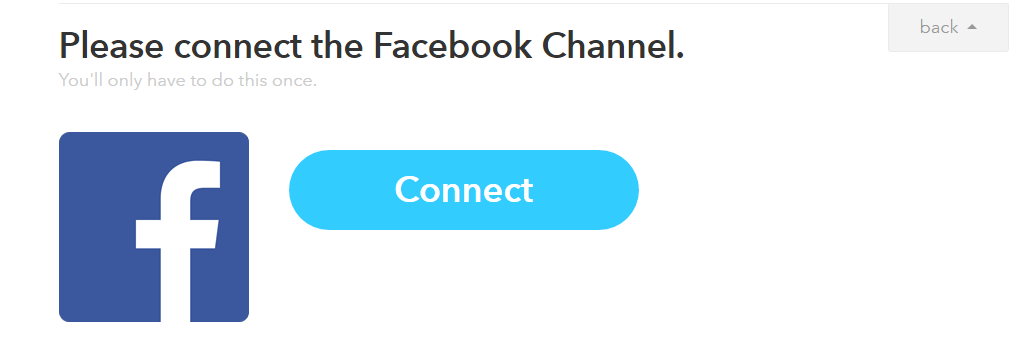
Step 15: In this step, you need to establish connection to Facebook. Just click on the blue colored “connect” button as shown in the below screenshot.
Step 16: Enter your Facebook login details i.e. Facebook username and password. After this, click on blue colored “connect” button. Once you complete this step successfully you’ll see the below screen. Simply click on the blue colored “Done” button.

Step 17: On the below screen, click on blue colored “Continue to the next step” button.

Step 18: Now you’ll be able to see “Choose an Action” screens. IFTTT currently supports 3 actions to be performed on Facebook whenever a trigger is triggered. These are
- Create a status message
- Create a link post
- Upload a photograph from the URL
Out of these 3, select whichever action you would like to take. For now, we’ll choose “Create a link post”

Step 19: Now, you’ll be navigated to screen such as below where you can add a message in addition to a link. Finally click on blue colored “Create action” button to finalize the action.

Step 20: Finally in this last step, you can click on blue colored “Create Recipe” button to finalize the recipe.

Congratulations, you have now automated the process of sharing all the new posts on your website directly on Facebook. Also, you just learned how to create recipes on IFTTT. With the power of IFTTT, you can create numerous number of different recipes and keep automating redundant processes. So go and automate posting to other social networks like Twitter and LinkedIn in the same way.