Google Maps is a powerful and widely used web mapping service provided by Google. With this service, you can easily find locations and places around the world with a few clicks.
If you want to search for satellite images, street maps, street views, hotels, public services, and much more then this is the best tool to use. With Google maps, you can easily browse and find your location using the map or GPS on your smartphone or other mobile devices.
Let’s say you have a restaurant and a website, of course, you want your customers to easily find your restaurant. Sometimes an address, is not enough, you need a map as well. But how do you add a location with Google maps into WordPress?
Well, there are different ways to add a map to your website. You can choose to add Google maps to your website or embed a map with Google’s help. You can also choose from hundreds of free plugins in the WordPress plugin directory. But it’s not that easy to choose which one works well or not! Today I review a new plugin Hero Maps Pro which is a simple-to-use plugin.
Install and add Google Maps with Hero Maps Pro
First thing you need to do is install and activate the free Hero Maps Pro plugin.
- From your WordPress dashboard, go to your tab ‘Plugins > Add New’
- Search for ‘Hero Maps Pro, Activate ‘Hero Maps Pro’ from your Plugins page.
- Once HeroMaps plugin is installed and activated, Click Hero Maps Pro in your admin dashboard.
- Click on “Maps” and click on the “Add new” button
- Type in your map name and click “Add”. This name would just be for your reference and will not be displayed in the front end.
Now for the fun part!

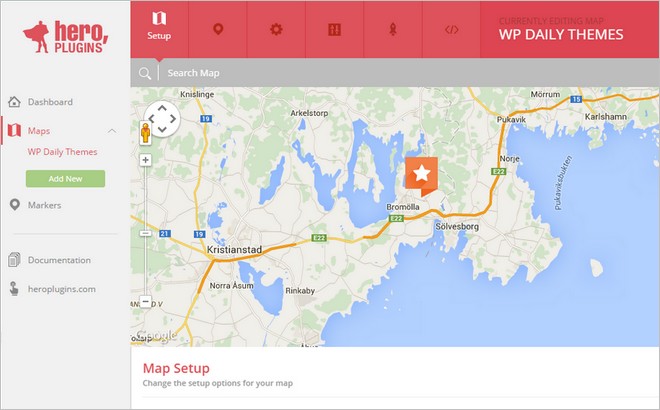
- Setup – Here you add your map name, and your see the shortcode you will use later in your post or page. Choose the dimensions, fix width or responsive.
- Markers – Here you choose location marker. Select the color that you would like to use. Choose icon, drag-and-drop the icon that you would like to use onto the map.
- Settings – Choose the type of map and choose between a color or greyscale map. Auto Fit, auto scale the map to the maximum size where all markers are visible Mouse wheel zoom, zoom in and out with the mouse wheel
- Controls – Define the controls of your map. Switch on or off the controls you would like to display on the map. some of the options are Street views, Street views position, map type, pan, zoom, zoom style, overview and more.
- Advanced – Here you can change things like animation type, speed, delay etc. Turn on tool tips, marker animation, map load zoom, click zoom.
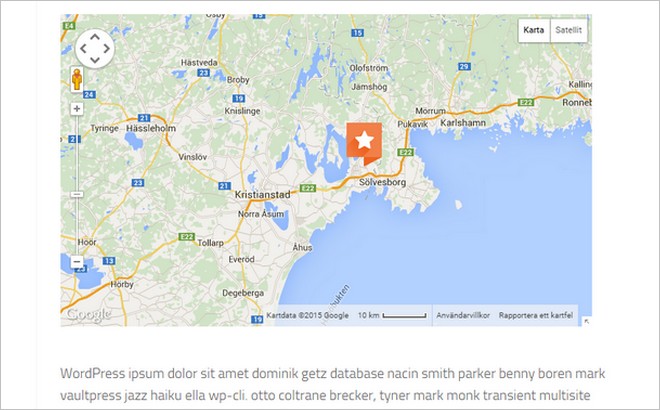
When you’re done with your settings, copy and paste the shortcode under the tab Setup. Insert the shortcode in a post or page of your choice. Voila, you’ll have an informative Google map on your website that makes it easy for your customers to find at your selected location. Take a look at the demo how it look like.
My Google map turned out like this:

More features included in the Hero Maps plugin are:
- Fully responsive
- Easy to use
- Custom markers support
- Cross browser compatible
- Map theme customization
- Multiple maps and markers
- Developer integration support
The Hero Maps plugin comes with well-written documentation if you run into any problems.
Conclusion
Hero Maps is a easy-to-use-plugin that comes with loads of settings that allow you to customize the look and design of your map. Copy and paste the shortcode in your custom made map on any post or page. Overall I think this is a useful plugin that makes it easy to add a Google map to your WordPress website.
How do you insert a Google Maps on your website? With a WordPress plugin or custom code?
STATUS: OUTDATED OR NO LONGER AVAILABLE!

