

You may already know there are many cloud WordPress hosting services which allows hosting WordPress only sites with an optimized environment for better performance of your WP blog. Many of these services are costly for a small blogger or a freelancer who just got started with his business or website.
If you’re looking to setup your WordPress blog on Blazing fast cloud environment but still don’t want to spend too much money then good news is that you still have some options.
Many of you may have heard about Cloud hosting service providers such as Vultr and DigitalOcean. These are cloud hosting providers which lets you deploy servers and applications on high performance Solid-State Drives (SSD) in just a few clicks. In other words, you can have your WordPress powered blog or site up and running in less than 2-3 minutes with a dedicated IP, DNS management and enterprise grade 99.99% uptime SLA!
Sounds interesting? There is more! When you sign up with these services, they usually offer you pricing on per hour basis, so if you installed a WordPress blog on any of these services and you cancel them, you only get charged for the time period you used. You don’t need to pay for the full month if you installed WordPress blog for 1/2 hours! For example, DigitalOcean’s smallest plan starts from $0.015/HR. So if you installed it for 2 hrs, you only pay them $00.03!
How to Install WordPress on DigitalOcean?
Personally DigitalOcean is my personal choice mainly because they have really good support when you need them! DigitalOcean is one of the leading hosting provider and one of the favorite choice among many developers and application builders. They claim to have more than 650k customers created nearly 12 million droplets and currently have 11 data centers across the globe. Once you setup an account with them, it takes 50-60 seconds to create a server up and running.
Let’s go step-by-step to create first WordPress install on DigitalOcean.
Step 1: Create an Account.
Its straight forward, no rocket science. Simply provide your password, email to sign up. If you use this referral link, you’ll get $10 in your account balance (no credit card asked). After sign up, you may need to verify your email account and then you can login to your account.
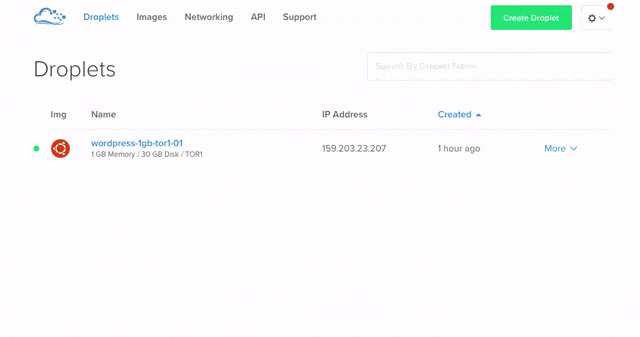
Step 2: Creating a Droplet

Droplets are actually nothing new but Virtual Private Server (VPS) as we call in general hosting lingo. Each time you create a new droplet, you actually create a new VPS instance on their network. You can choose servers and their control panels directly. With DigitalOceans though, if you install the server, you have to install the control panel separately (using SSH) and then you can get access to your file manager and mysql databases.
Another option is to install WordPress directly without installing any control panel option. If you are not so geek, this option however is little bit tedious as you will need to access your files and database through SSH. You can install phpmyadmin to manage database. There is a detailed manual on DigitalOcean’s site for this as well.
Step3: Add a Domain/Hostname
Now that droplet is already created, you may want to assign it to particular domain for that. To assign domain, (1) simply select droplet (2) create domain. The domain will be then assign to that droplet. Next screen will tell you name servers you need to point from your domain’s control panel.
How to Install WordPress on Vultr?
Vultr is yet another popular CLoud hosting service with more than 1,00,000 customers and 14 data center locations across the globe. The process for creating Instances on Vultr is pretty much same as DigitalOceans. Lets go through them step by step.
Step1: Sign up an account.
Visit Vultr website and click on sign up button. Provide your name and email to sign up with them. Once you sign up, you may need to verify your email account. After you sign up, use SSDVPS coupon to add $20 in your account.
Step2: Create an Instance
From the server section, create new instances. There is an advantage of using Vultr though. Compared to DigitalOcean, there are some additional options provided to deploy your instance. For example, you can create instances directly with a server and control panel on it. At this stage they offer two popular control panel cPanel and Webmin (Both on Centos OS). This is easier for novice users since they won’t need to deal with SSH or refer documents to install phpmyadmin separately.
Once you install cPanel or Webmin though, you have to install WordPress manually by (1) copying file on file manager (2) creating and connecting database to finish setup. So it won’t be instantaneous, but you still can make it. After you create your first WordPress install, you can go to your Vultr account and create snapshots. When you create your next instance, you can use those snapshots directly and next install will be exact copy of your previous server!
Just like DigitalOceans, Vultr also offers option create instance with WordPress directly. You can select WordPress as an app to directly install WordPress.
Step3: Adding Hostname
When you create the instance, you can specify the domain name for which you want this instance. You can do this later or modify it as well.
For both providers, cancelling your droplet (or instance) is even easier. Simply go to droplet’s dropdown menu and click on Destroy. You’ll be asked to confirm once and then ta-da! Your server is wiped out!
It is also pretty easy to create and manage various DNS records such as A records or MX records. For DigitalOcean, you can find this in the networking section. The best part of using DigitalOcean is their detailed manuals and top notch services.
Wrapping Up
There are many other cloud hosting solutions such as Google’s App Engine or Amazon’s AWS among two popular choices. However it is not as easy to create your own instances and setting up WordPress for any novice blogger or site owner.
Working with Vultr and DigitalOcean is really simple. You may want to harden your server’s security after you finish installing (for which there are some documentation on DigitalOcean’s website) but after that, you can get high speed servers solid infrastructure for very reasonable price. If you compare other managed hosting providers with them, you’ll see the clear difference between both choices. It is definately worth giving these both service a try. After all, you get free credits to sign up and try which is rare offering for VPS Hosting solutions.